How to Clean Your Aircond Filter: Step-by-Step Guide
Learn how to properly clean your aircond filter at home. Easy step-by-step guide with photos. Save money on service calls with regular DIY maintenance.
Cleaning your aircond filter is the easiest and most important maintenance task you can do yourself. A clean filter improves cooling, reduces electricity bills, and extends your AC’s lifespan.
Here’s how to do it properly.
Why Clean Your Filter?
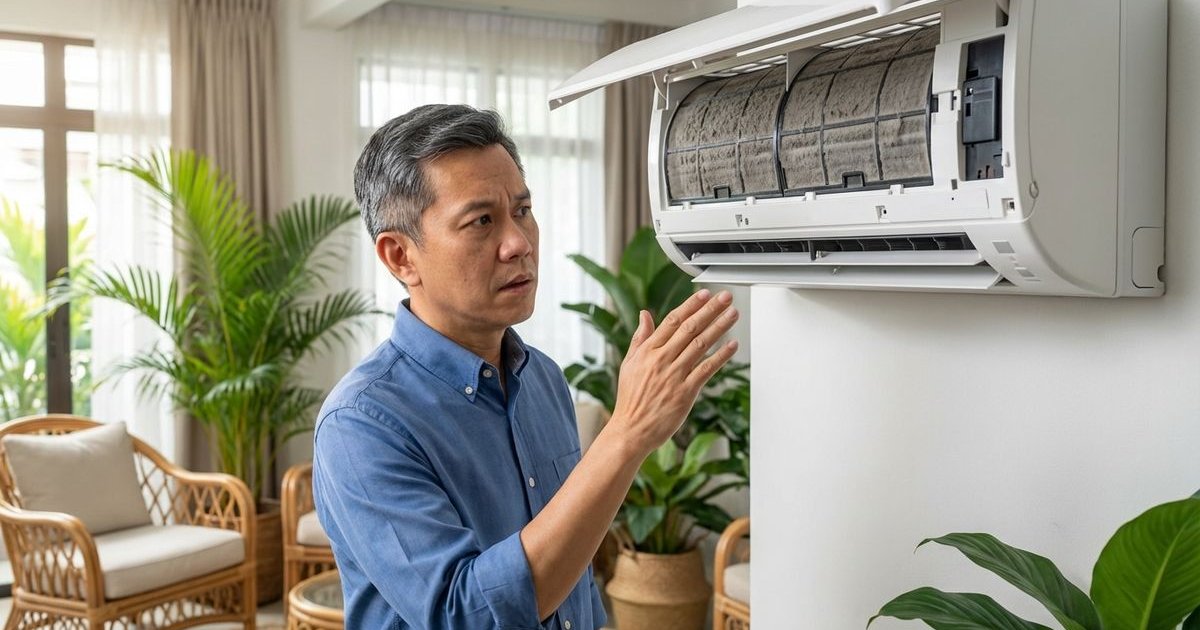
We see the impact of neglected filters every single day in homes across Puchong and Kuala Lumpur. A clogged filter acts like a suffocating mask for your cooling unit.
Benefits of clean filters:
- ✅ Better cooling efficiency: Airflow increases immediately.
- ✅ Lower electricity bills: Data from Tenaga Nasional Berhad (TNB) suggests efficient appliances can significantly lower usage.
- ✅ Cleaner air quality: Reduces circulating dust and allergens.
- ✅ Reduced strain on compressor: Prevents the motor from overheating in the Malaysian heat.
- ✅ Longer AC lifespan: Well-maintained units can last 5-7 years longer.
Consequences of dirty filters:
- ❌ Weak airflow: You feel the heat even when the remote says 16°C.
- ❌ Reduced cooling: The room takes hours to reach a comfortable temperature.
- ❌ Ice formation on coils: Restricted airflow causes the evaporator to freeze over.
- ❌ Bad odors: Musty smells develop from trapped moisture and bacteria.
- ❌ Higher energy consumption: Your meter runs faster while you feel less comfort.
How Often to Clean
We recommend adjusting your schedule based on your specific environment in the Klang Valley. High-rise condos near construction sites often need more frequent attention than landed properties in established neighborhoods.
| Usage Level | Cleaning Frequency |
|---|---|
| Light (< 6 hrs/day) | Every 4-6 weeks |
| Normal (6-12 hrs/day) | Every 2-4 weeks |
| Heavy (12+ hrs/day) | Every 1-2 weeks |
| Dusty environment (Near construction) | Weekly |
| Pet owners | Every 1-2 weeks |
Step-by-Step Guide
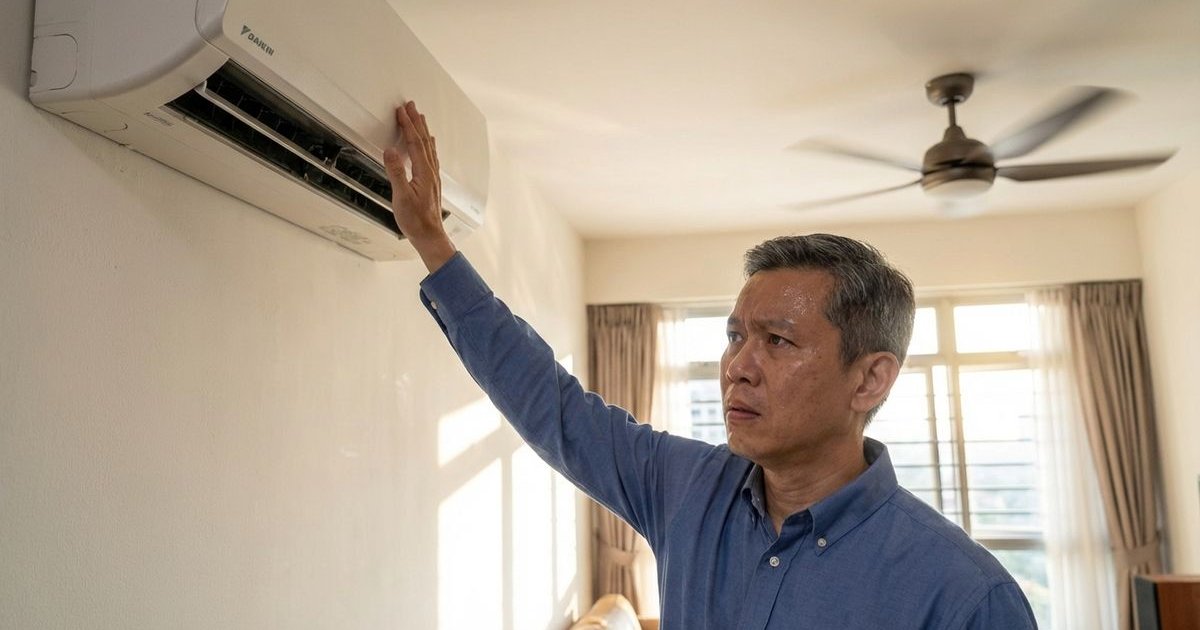
Step 1: Turn Off the Aircond
Important: Always isolate the power before touching the internal components.
- Press the power button on the remote to shut down the unit.
- Safety Tip: Locate the dedicated wall switch (usually a white switch next to the unit) and turn it off.
- Let the louvers close completely before proceeding.
Step 2: Open the Front Panel
For most wall units (Daikin, Panasonic, York):
- Locate the small indentations on the left and right sides of the panel.
- Lift the front panel up gently until it locks into the raised position.
- You will hear a soft click when it is secure.
Tip: Don’t force the plastic hinges. If the panel feels stuck, check for hidden screws near the display, though this is rare for standard wall units.
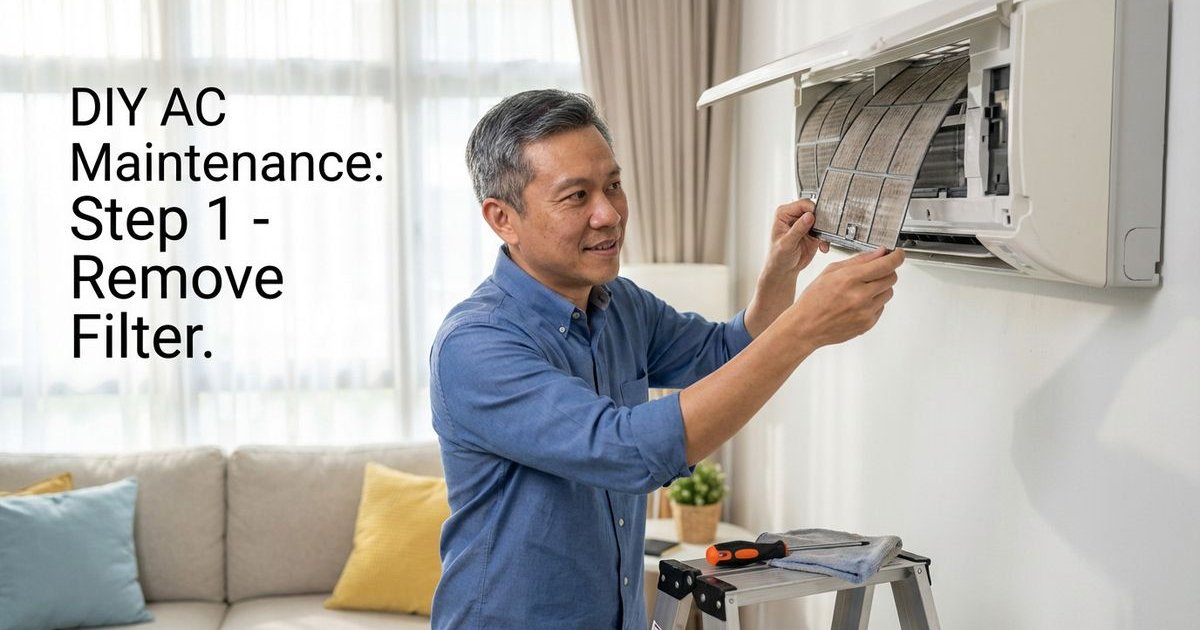
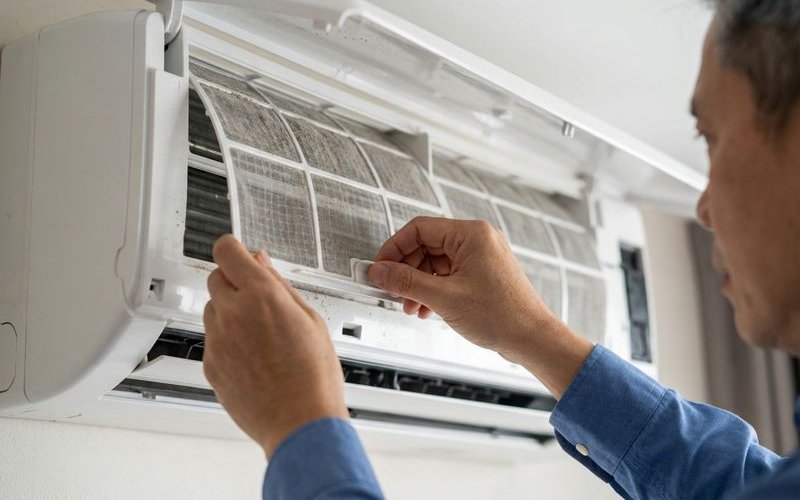
Step 3: Remove the Filters
Most units have:
- Two large plastic mesh filters covering the coils.
- Slide the bottom tabs up slightly to unhook them, then pull down gently.
- Warning: Some modern units (like newer Daikin models) have a secondary “Titanium Apatite” or bio-filter attached to the main mesh. Remove these small strips before washing, as they often cannot handle water.
Common filter types:
- Nylon Mesh: The standard grey or black screen (Washable).
- Bio-Enzyme/HEPA strips: Small rectangular inserts (Usually vacuum only, replace every 2 years).
- Carbon filters: Black strips for odor removal (Vacuum only).
Step 4: Clean the Filters
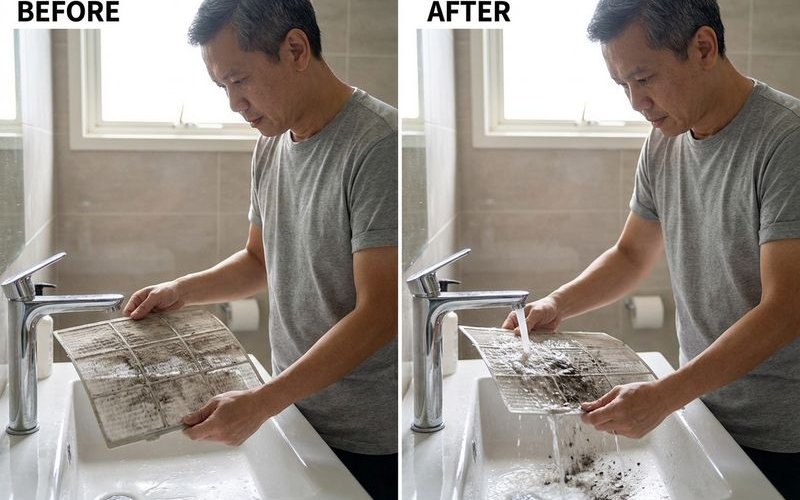
We have found that skipping the vacuuming step often turns dust into stubborn mud that clogs the mesh.
For mesh filters:
- Vacuum first: Run a vacuum cleaner over the dry filter to remove loose heavy dust.
- Rinse efficiently: Run water through the back of the filter (opposite to airflow direction) to push dirt out, not deeper in.
- Use cool water: Hot water can warp the plastic frame.
- Gentle cleaning: If the filter is greasy (common in units near kitchens), use a mild liquid soap and a soft sponge.
Don’t:
- Use hot water (can warp plastic).
- Use harsh chemicals like bleach.
- Scrub aggressively with hard brushes.
- Put in a dishwasher.
Step 5: Dry Completely
Critical: The filter MUST be completely dry before reinserting. We see mold growth start within 24 hours when homeowners skip this rule.
Drying methods:
- Air dry in a shaded, well-ventilated area.
- Pat gently with a dry microfiber cloth to absorb excess moisture.
- Lean them against a wall for 30-40 minutes.
Never:
- Use a hairdryer (the heat destroys the mesh tension).
- Put back while wet (causes mold).
- Leave in direct sunlight (UV rays make the plastic brittle and prone to snapping).
Step 6: Reinstall
- Slide the filters back along the guide rails.
- Ensure the “Front” marking faces you.
- Push the bottom tabs until they click into the locking slots.
- Reattach any bio-filters you removed earlier.
- Close the front panel and turn on the isolator switch.
Pro Tips
While Panel is Open:
- The Flashlight Check: Shine your phone light through the metal cooling fins. If you see a thick grey blanket of dust or slime blocking the light, a simple filter clean won’t be enough.
- Wipe the Plastic: Use a damp cloth to wipe the dust off the top of the indoor unit and the louvers.
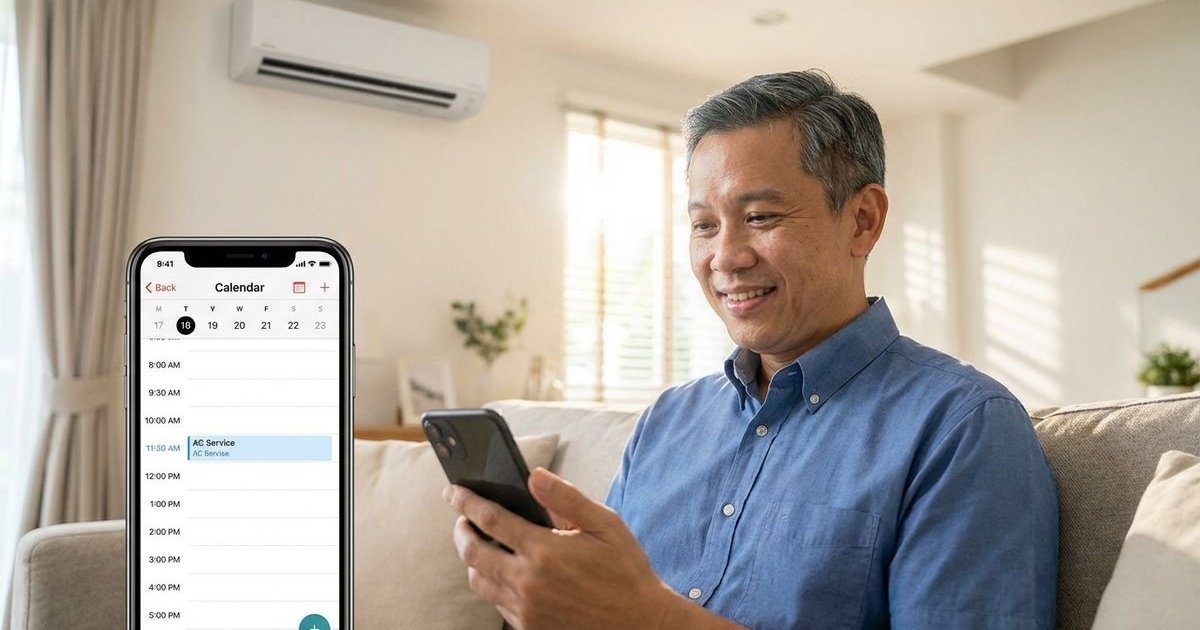
Make it a Routine:
- Set a recurring “House Maintenance” calendar event on your phone.
- Clean the filters on the same day you pay your TNB bill to make it easy to remember.
- Listen for changes in fan noise, which often indicates airflow restriction.
For Best Results:
- The “Tissue Test”: After cleaning, hold a single ply of tissue paper near the bottom air intake while the unit is running. If the suction holds the tissue firmly, your airflow is good.
- Check the Outdoor Unit: Ensure leaves or debris aren’t blocking the fan on your compressor outside.
When Filter Cleaning Isn’t Enough
We know it is frustrating when you clean the filters but the room stays warm. This usually indicates a deeper issue inside the machine.
Schedule professional chemical wash if:
- Cooling is weak despite clean filters.
- You see black spots (mold) on the blower wheel or louvers.
- There is a “jelly” substance blocking the water tray (common in Malaysia’s humidity).
- It’s been 12+ months since the last deep clean.
Filter cleaning ≠ Chemical wash
Filters are just the first line of defense. The cooling coils and blower fan behind them accumulate sticky bio-slime that only chemical cleaning can dissolve.
Filter Replacement
Replace filters when:
- The mesh has visible tears or holes.
- The plastic frame is cracked or bent.
- The mesh remains grey/brown even after washing.
- Manufacturer recommends (check manual).
Where to buy:
- Official Service Centers: Best for exact fits (Daikin/Panasonic centers).
- Hardware Stores: Places like Mr. DIY or Ace Hardware often stock universal filters, but check dimensions carefully.
- Online Marketplaces: Shopee and Lazada have replacements, but verify the model number on your unit’s sticker first.
Tip: Take the old filter out and measure it in centimeters before ordering online to avoid sizing errors.
Quick Reference Card
Save this for easy reference:
| Step | Action | Time |
|---|---|---|
| 1 | Turn off AC & Switch | 1 min |
| 2 | Open panel | 1 min |
| 3 | Remove filters | 1 min |
| 4 | Vacuum & Wash | 5 min |
| 5 | Dry completely | 30-60 min |
| 6 | Reinstall | 2 min |
Total active time: ~10 minutes
Still Need Help?
Filter cleaning not solving your cooling issues? It might be time for a professional service. We specialize in reviving tired units and eliminating hidden biological buildup.
Chemical Wash: From RM160/unit - Deep cleans everything filter cleaning can’t reach.
Related Service
Learn more about our chemical wash service